See How AI Can Write Custom Code, CSS & HTML

Video Play on Hover Interaction
I’m inserting the following code in the <head> of the website. Write a script using jQuery to control the playback of a video element with the ID ‘my-video‘, without creating a var, just with ‘this’ keyword. Ensure the ‘video’ element inside the ‘#my-video‘ container is selected explicitly within the mouseout event handler. When the mouse is over the video, it should start playing, and when the mouse leaves the video, it should pause. Ensure the generated code is streamlined, containing only the script and library call without any additional HTML structure such as <html>, <head>, <body>, <video>, etc.
- Video Source: Confirm that the video used in the Elementor Video Widget is sourced from a self-hosted location
- Elementor Video Widget Setup: Edit the settings of the Elementor Video Widget. In the Advanced tab, assign the unique ID ‘my-video’ to the widget.
- Custom Code Placement: Place the provided jQuery code in the Custom Code section of Elementor. In the conditions settings, set it to the Entire Site if you want the code to work on all pages of your website.
Please note that, much like any other AI-generated content tool, the outcomes obtained from the suggested prompts in the Prompt Library can vary even when using the same prompt. Embrace the diversity and creativity in each result!
Craft a Stylish JavaScript Back Button Script
I’m inserting the following code in the <head> of the website. Write a JavaScript code to go back on class “my_back_btn”. Ensure the generated code is streamlined, containing only the script without any additional HTML structure such as <html>, <head>, <body>, etc.
- Elementor Video Widget Setup: Edit the settings of the Elementor Video Widget. In the Advanced tab, assign the Class ‘my_back_btn’ to the widget.
- Custom Code Placement: Place the provided JavaScript code in the Custom Code section of Elementor. In the conditions settings, set it to the Entire Site if you want the code to work on all pages of your website.
Please note that, much like any other AI-generated content tool, the outcomes obtained from the suggested prompts in the Prompt Library can vary even when using the same prompt. Embrace the diversity and creativity in each result!

Falling Confetti Animation for Full-Viewport Canvas
Insert the following code in the <head> of the website. Generate concise JavaScript code for a falling confetti animation on a fixed HTML5 canvas of full viewport size width and height. Ensure the animation does not disrupt the layout of the page and that the confetti particles fall smoothly from the top to the bottom like a rain. Consider optimizing the code and CSS styles to prevent interference with other page elements. Make the canvas above all elements but links (z-index: 1000). Randomize confetti properties like size, color, and rotation for visual appeal. Make each particle falling in another time and speed. Make the pointer-events to none. Do not hidden the overflow.
Custom Code Placement: Place the provided JavaScript code in the Custom Code section of Elementor. In the conditions settings, set it to the Entire Site if you want the code to work on all pages of your website.
Please note that, much like any other AI-generated content tool, the outcomes obtained from the suggested prompts in the Prompt Library can vary even when using the same prompt. Embrace the diversity and creativity in each result!

Two gradient colors animated background
Create a 2 colors animated background. From #F8C3D0 to #FFFFFF in 5 seconds and infinity. Make it smooth.
Please note that, much like any other AI-generated content tool, the outcomes obtained from the suggested prompts in the Prompt Library can vary even when using the same prompt. Embrace the diversity and creativity in each result!

Conditional logic on form fields
Wrap the provided JavaScript code with a <script> tag. This code should run after the webpage finishes loading. At the beginning, hide the field with the ID form-field-email along with its label. Then, add a listener to check if the field with the ID form-field-subject has any content. If it does, show the form-field-email field; if not, keep it hidden along with its label. Put only JavaScript code and not HTML.
- “
form-field-email” is the ID of the field that should appear dependent on the field with the ID “form-field-subject.” - Go to your form fields in the Advanced tab, copy your IDs, and replace the relevant IDs in the prompt. For example: “form-field-
[PUT YOUR ID HERE].” - Drag and drop the HTML widget above or after your form on the page and apply the prompt with your edits.
- Check the result in preview mode and not in the editor.
Please note that, much like any other AI-generated content tool, the outcomes obtained from the suggested prompts in the Prompt Library can vary even when using the same prompt. Embrace the diversity and creativity in each result!

Show a border and shadow when focusing on form fields
Add a border of 1px #000000 and slight white shadow of 15px to the fields on focus mode.
Please note that, much like any other AI-generated content tool, the outcomes obtained from the suggested prompts in the Prompt Library can vary even when using the same prompt. Embrace the diversity and creativity in each result!

Infinity slide-left and slide-right icon animation
Add a continuously and smoothly effect on the icon. The animation should be slide left and slide right, infinity, with css. The animation stops when the mouse hover on it.
Please note that, much like any other AI-generated content tool, the outcomes obtained from the suggested prompts in the Prompt Library can vary even when using the same prompt. Embrace the diversity and creativity in each result!

Infinity zoom in and out icon animation
Add a continuously and smoothly effect on the icon. The animation should be zoom in and zoom out, infinity, with css. The animation stops when the mouse hover on it.
Please note that, much like any other AI-generated content tool, the outcomes obtained from the suggested prompts in the Prompt Library can vary even when using the same prompt. Embrace the diversity and creativity in each result!
Discover a World of Possibilities with AI
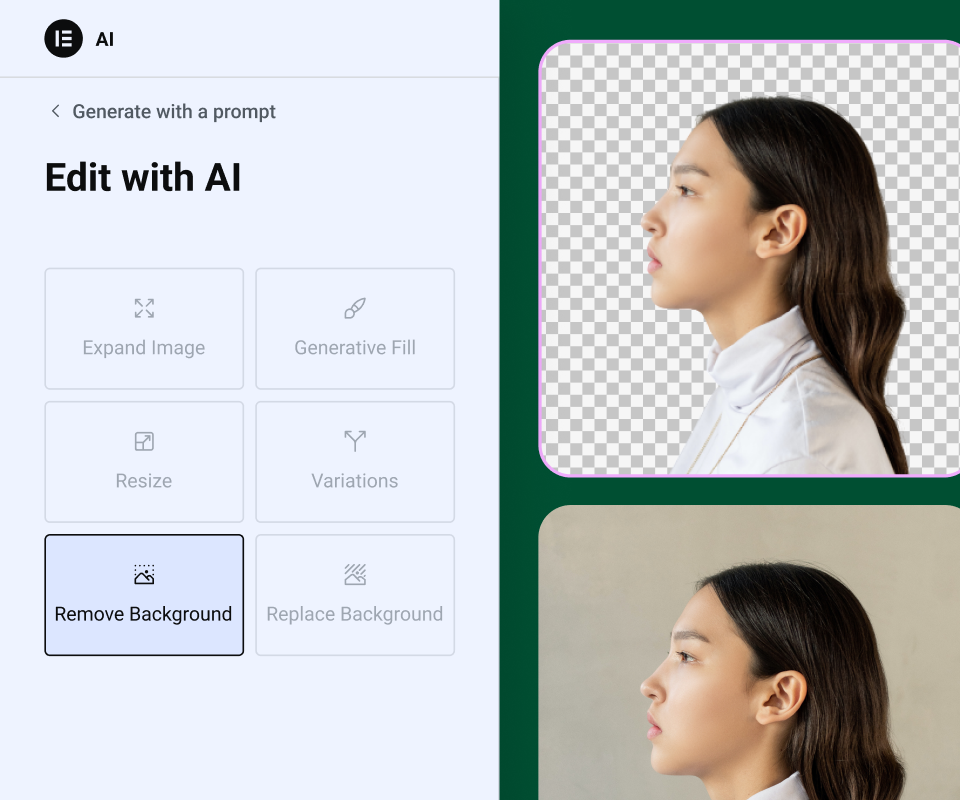
Generate Images with AI
Use the brain power of AI to create one-of-a-kind images that you can edit and fine-tune without ever leaving the Editor environment.

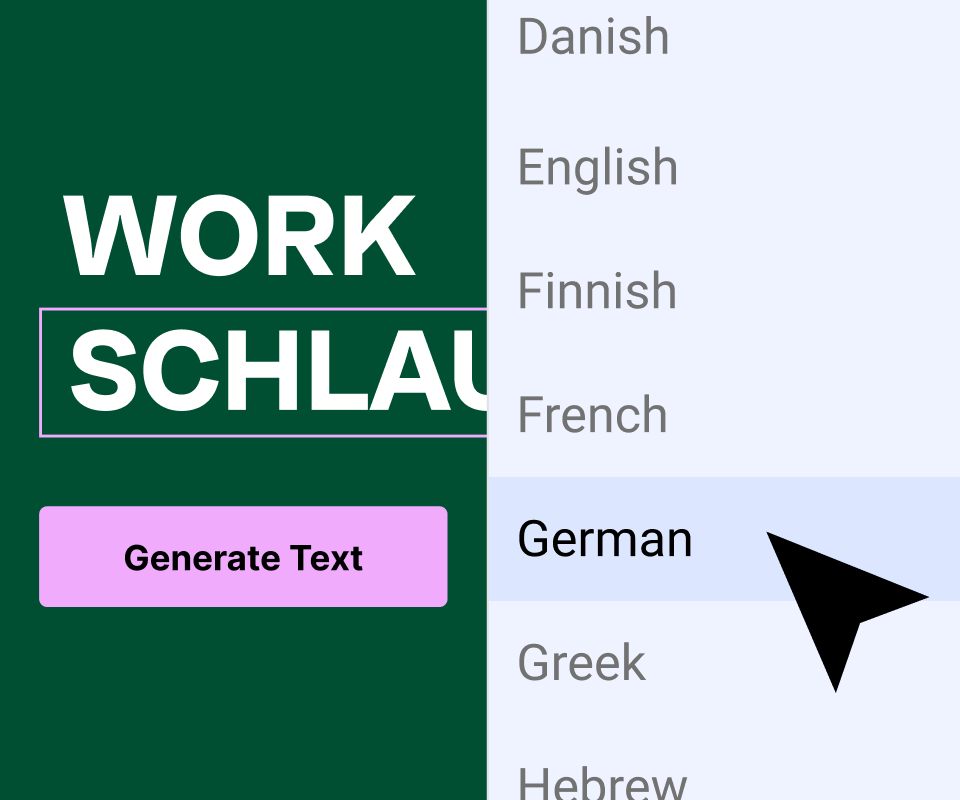
Create Text with Generative AI
Embrace an efficient approach to content creation with AI that generates, enhances, and translates copy to fit any element seamlessly.

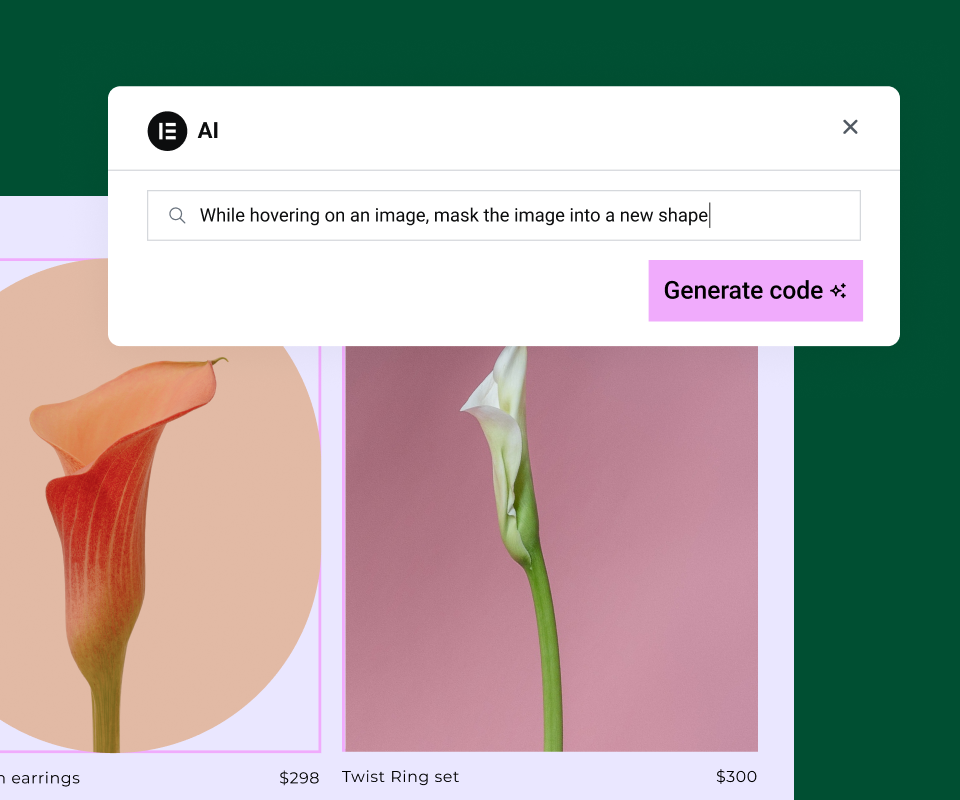
Write Custom Code with AI
Generate Custom CSS code to gain complete control over your website styling while maintaining a lightweight and flexible design.

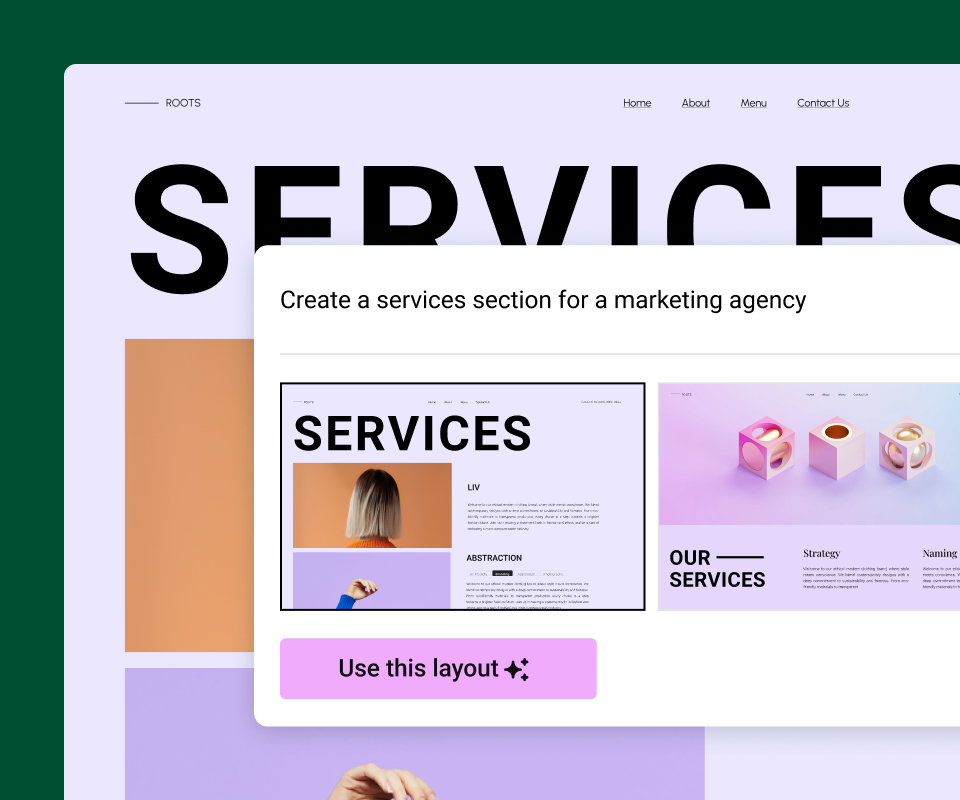
Build AI-Generated Container Layouts
Let AI create your container layouts including content, style, images, fonts, etc., according to your prompt request.

Choose Your Elementor AI Plan
- One AI subscription covers all your Elementor websites
Non-refundable, try it free on any Elementor Website. Compatible with Elementor 3.13 and higher.
By purchasing Elementor AI, you agree to our AI Terms & Conditions
The above prices do not include applicable taxes based on your billing address. The final price will be displayed on the checkout page. All plans renew annually at list price.
The above prices do not include applicable taxes based on your billing address. Unless otherwise specified, prices are in USD. The final price will be displayed on the checkout page. All plans renew annually at list price.
The price above includes Israeli VAT based on your billing address.
All plans renew annually at list price.
How do Elementor AI credits work?
Your plan gives you an annual amount of credits to spend on the mix of prompts you want to enter. These are the credits needed for each type of prompt you write.
- Type
- Credit Cost
- Text Prompt
- 1 Credit
- Code Prompt
- 1 Credit
- Image Prompt
- 33 Credits
- Container Prompt
- 40 Credits
The Starter Plan enables you to annually generate up to 24K text entries or 24K code snippets or 725 image requests, or 600 Container prompts, or any mix.
The Power Plan enables you to annually generate up to 50K text entries or 50K code snippets or 1,500 image requests, or 1250 Container prompts, or any mix.
The Visionary Plan enables you to annually generate up to 100K text entries or 100K code snippets or 3,000 image requests, or 2,500 Container prompts, or any mix.
AI Notetaker
Let AI summarize your meeting notes
Meet with your client on Zoom or Google Meet—our AI Notetaker captures the conversation and creates a brief that can instantly transform into a full website wireframe – ready in minutes.
AI Features
Text
- AI Writing Assistant
- Length of Text
- Tone of Voice
- Context Sensitive Prompts
- Language Translations
- Spelling & Grammar Correction
Images
- Generate Original Images
- Replace Background
- Create Image Variations
- Change Resolution, Resize
- Remove Background
- Generative Fill
- Image Cleanup Tool
Code
- Generate CSS (*Requires Pro)
- Create HTML
- Write Custom Code
Containers
- Build with Prompts
- Create Variations
- Reference from the Web
- Auto-Generated Structure Titles
